It's not hard to turn a USB flash drive that's collecting dust in a drawer into extra RAM for your computer, allowing it to run faster and manage applications and processes more effectively. For this tutorial, we’re going to be working with Windows 10.
Random Access Memory, or RAM, is the place in a computer where the operating system, applications and data in current use are kept so they can be quickly reached by the device's processor. RAM effectively serves as the machine’s ‘working memory’, and more RAM allows it to work with more information at the same time, without having a detrimental effect on system performance. In a nutshell, then, RAM is there to provide quick read and write access to a storage device.
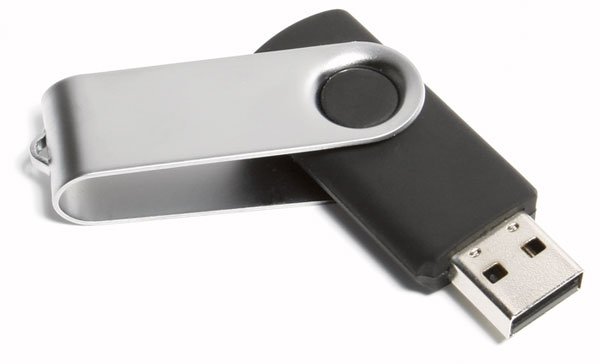
It’s incredibly simple to install additional RAM to your computer or laptop to make it snappier; it fits into your machine’s motherboard. But for many people, installing new hardware like this is incredibly daunting. There is, however, a much simpler way of increasing your RAM – by using a USB flash drive as extra virtual RAM. Here’s how you can do it in a few minutes on a machine running Windows 10, using a USB flash drive with USB 3.0 support.
If you connect a USB flash drive to a Windows computer, you will be asked if you want to speed up your system using ReadyBoost. But what exactly is ReadyBoost, and will it actually speed up your computer? ReadyBoost works in conjunction with SuperFetch, which monitors the programs you use on your computer and automatically loads their application files and libraries into your computer’s memory (RAM) ahead of time, for speed. When you launch the application, it will start faster - your computer reads its files from the RAM, which is faster, instead of from the hard disk or solid state drive, which is slower. You can use SuperFetch with a USB flash drive.
First of all, you need to insert your USB drive and format it. Then, right-click and select ‘properties’, click on the ‘ReadyBoost’ tab at the top of the properties box, and check the ‘use this device’ box. There’s a slider underneath for you to control how much space you want to allocate on the USB stick for ReadyBoost. Once you are happy with the settings, press ‘apply’ followed by ‘OK’. If you want to disable ReadyBoost, simply check the ‘do not use this device’ button and apply the changes.